

Why this Samsung fan is rooting for the company’s marketshare to dip

Although it’s strange to say, as a die-hard Samsung fan, I sometimes wish the company would lose some market share. Looking at the South Korean giant’s past flagship releases, it seems the company has become complacent. Don’t get me wrong, Samsung still makes great Galaxy devices, but the “wow” factor, that sense of pushing boundaries, seems to be a thing of the past. Maybe a little shake-up in the market (especially in North America) and some pressure from rivals is what Samsung needs to get back to innovating.
No Thanks, Keep Reading
One UI 7: What’s new in Samsung’s Android 15 skin
Rumors point to more than a little iPhone influence
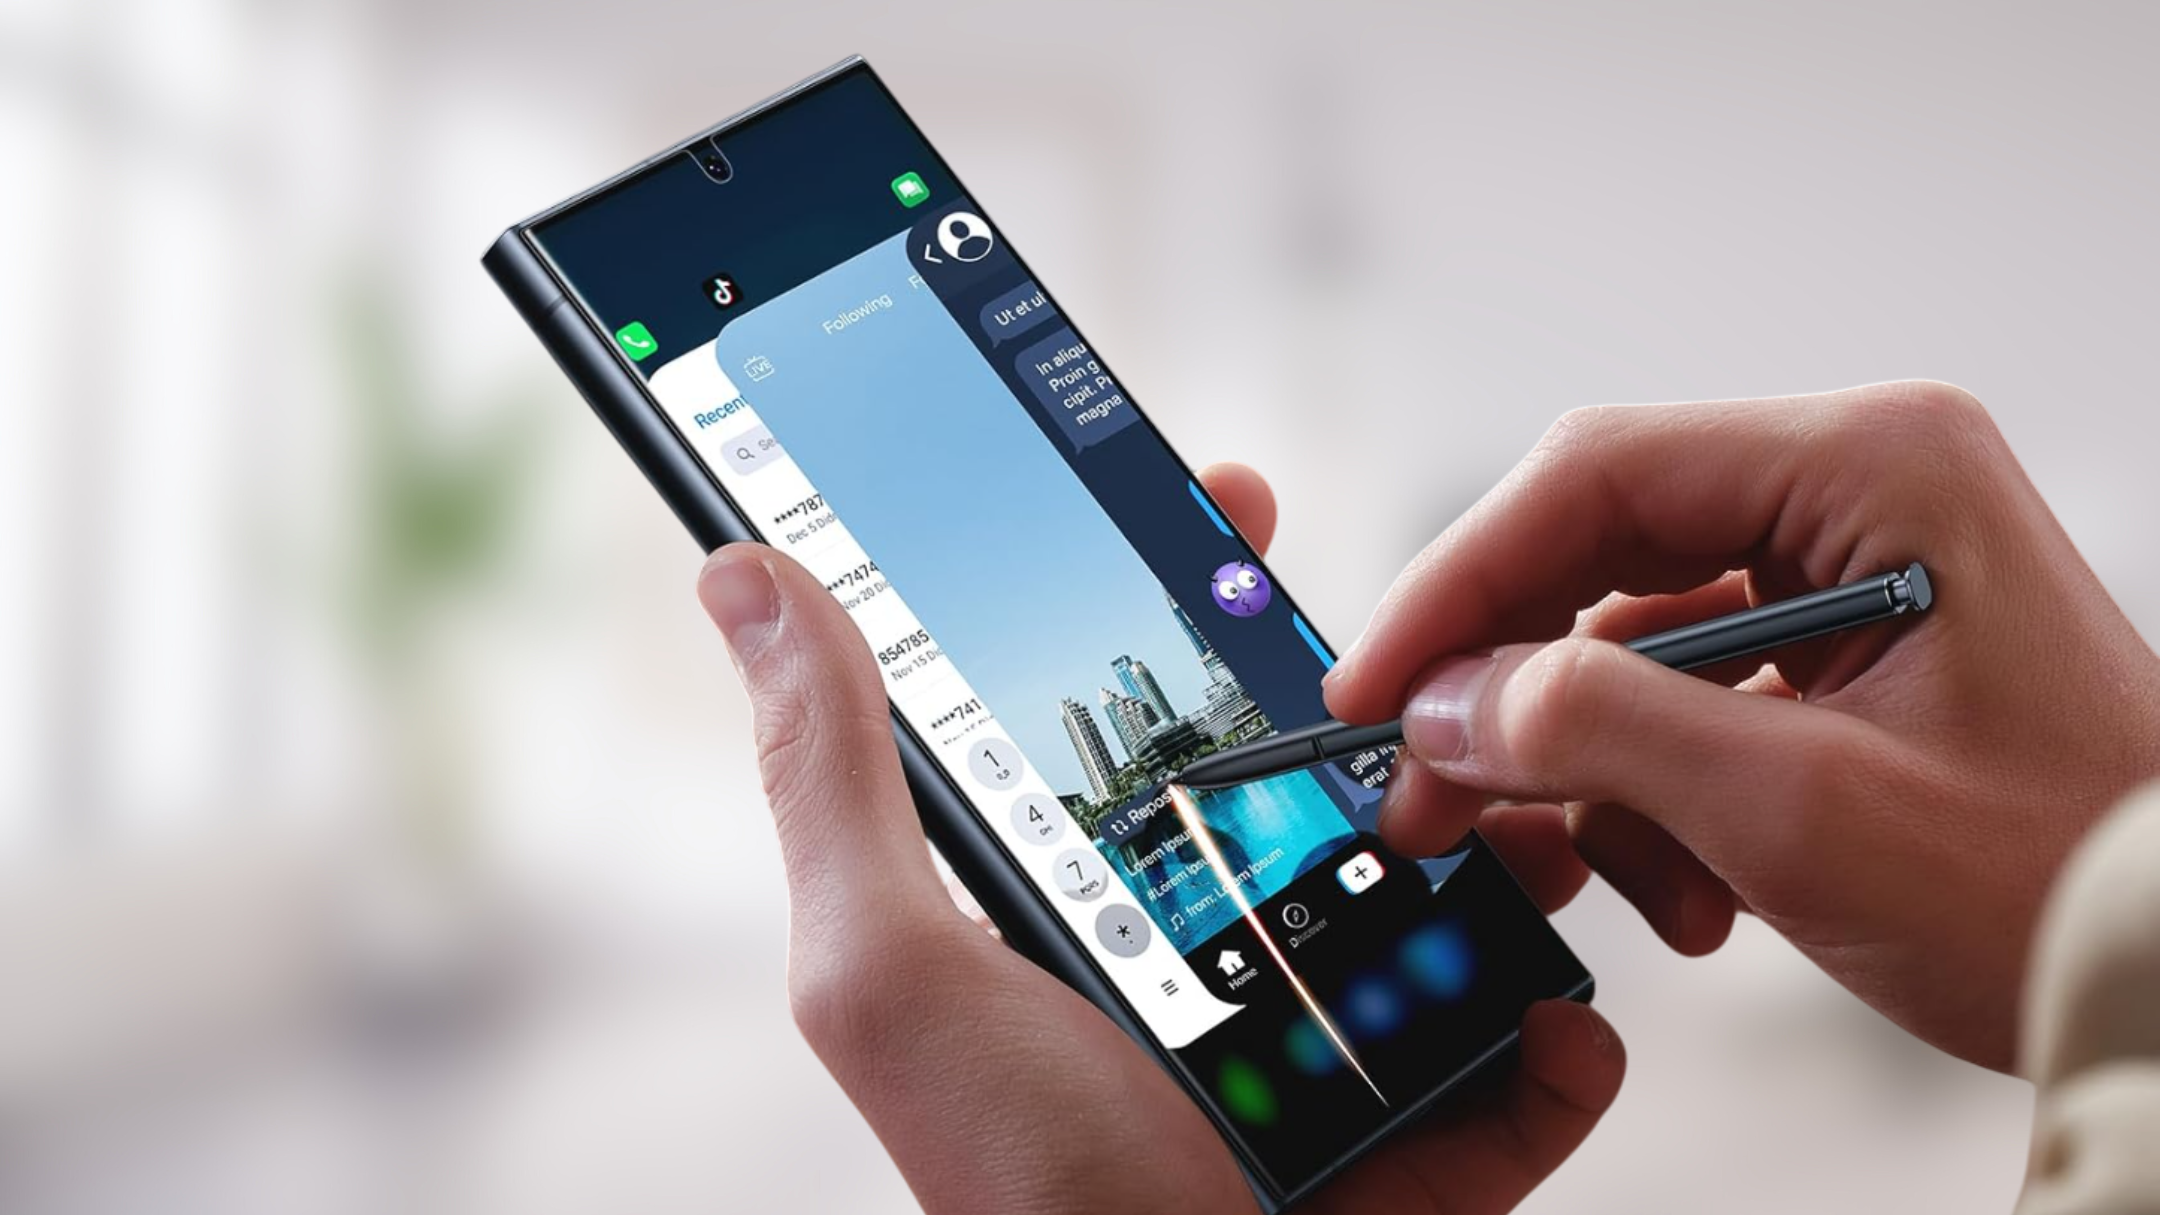
4 Interactive upgrades and lack of wow factor
When I glance over Samsung’s last few releases, I feel the company reached its peak with the Galaxy S20 series and has been coasting since then. Each new flagship feels like a remix of the last, with minor spec bumps and predictable design tweaks. That bold innovation that once defined Samsung is nowhere to be seen. Sure, the company is making progress on foldables, but they are still a niche product compared to the flagship S-series.
Think back to when Samsung introduced the S Pen with the original Galaxy Note or the curved display on the Galaxy Note 4. Those were game-changers and pushed the industry forward.
Now, we get incremental camera upgrades, slightly faster processors, and a few tweaks here and there in the same rectangle slab design. On the flip side, Chinese OEMs like Xiaomi, Oppo, and Vivo push the boundaries with 6,000mAh batteries, fast charging, a 1-inch camera sensor, and groundbreaking designs.
Now that Samsung is comfortable at the top, it seems to have lost the hunger to innovate. This is frustrating as the company has the resources and the talent to shake up the industry. That’s why a little shake-up on the sales table could be the best thing for the company.
3 Shrinking competition in North America
There was fierce competition in the Android world during the 2012 era. LG and HTC, in their prime, were innovators that kept Samsung on its toes. For example, before the HTC One M7, most Android phones looked and felt like plastic toys. HTC came along with a stunning aluminum unibody design. It was a wake-up call for Samsung and M7’s success, which likely played a role in Samsung’s shift towards premium materials in the Galaxy S6 series.
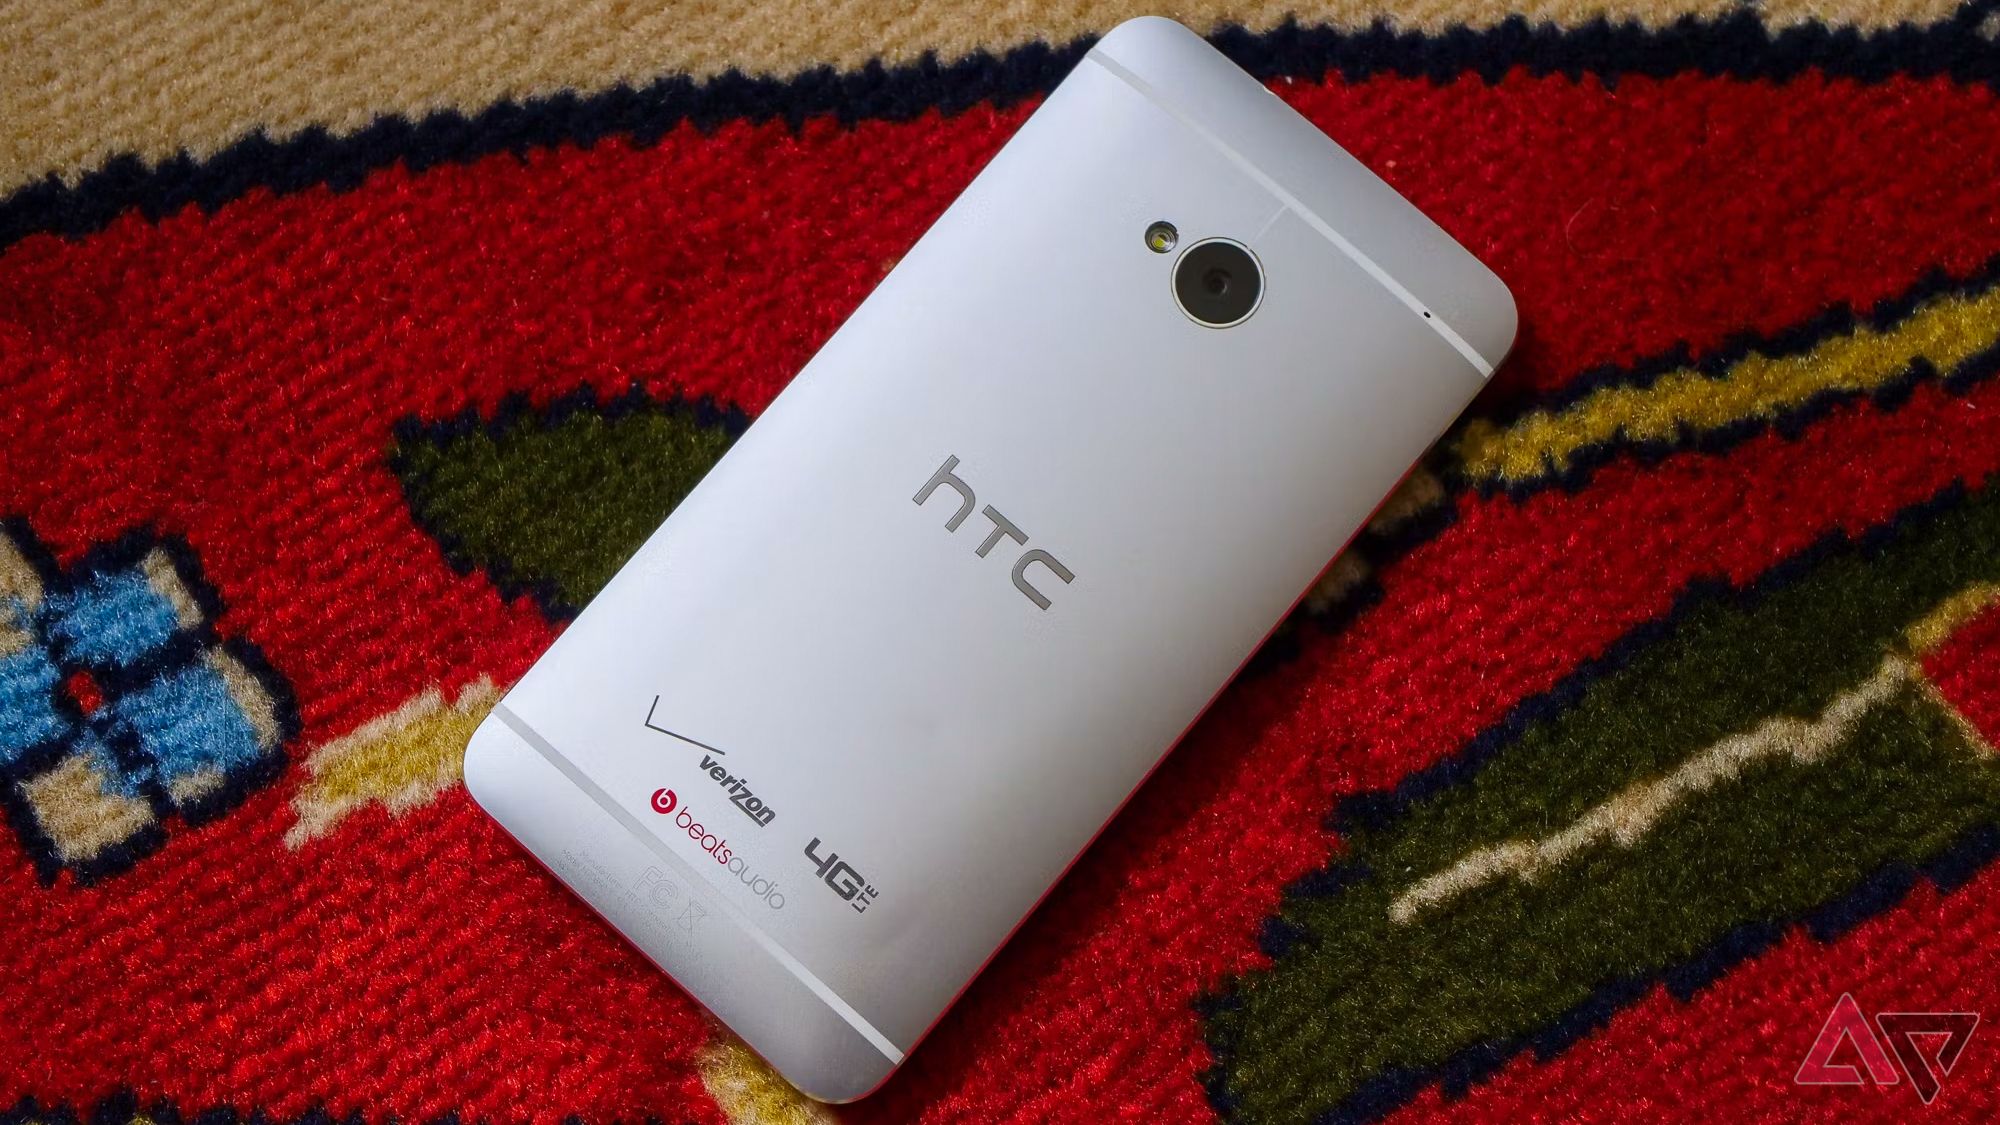
I remember how the Galaxy S5 was a joke due to its Band-Aid design on the back. The company completely turned the tables around with a glass-metal sandwich with its successor.
LG also delivered one of the best cameras with manual control on the G4, pushing Samsung to incorporate advanced camera features on the S-series. Only Huawei came close to challenging Samsung in the lucrative European and North American markets after LG and HTC exited. Their Mate and P series phones were packed with innovation, from cutting-edge camera technology to powerful processors.
The company’s deal with AT&T fell through due to a last-minute intervention from the US government. Now, it’s a two-horse race between Apple and Samsung. Samsung seems to have become complacent without a strong competitor in the Android space.
2 Potential benefits of increased competition
Imagine a scenario where Chinese Android phone makers enter the North American market. Samsung won’t be the only game in town. Consumers will have more choices, and those rivals are hungry to grab attention (and market share). This puts pressure on Samsung and forces the company to innovate like in the past.
The upcoming Galaxy S26 needs a new camera design, a larger battery, advanced S-Pen features, and a stable camera that captures moving objects without breaking a sweat. While losing market share might seem negative, it could be a blessing in disguise for fans like us. Think of it like a sports team that gets complacent after a winning streak. A loss can be the wake-up call they need to get back to their winning ways. In the long run, it’s a win-win situation for consumers and Samsung, even if it involves a temporary setback for the company.
Look at how Samsung improved the Galaxy Book series. Facing stiff competition from Dell, HP, Lenovo, and Asus, Samsung had no option but to innovate at faster speeds to stay relevant.
1 Areas for improvement
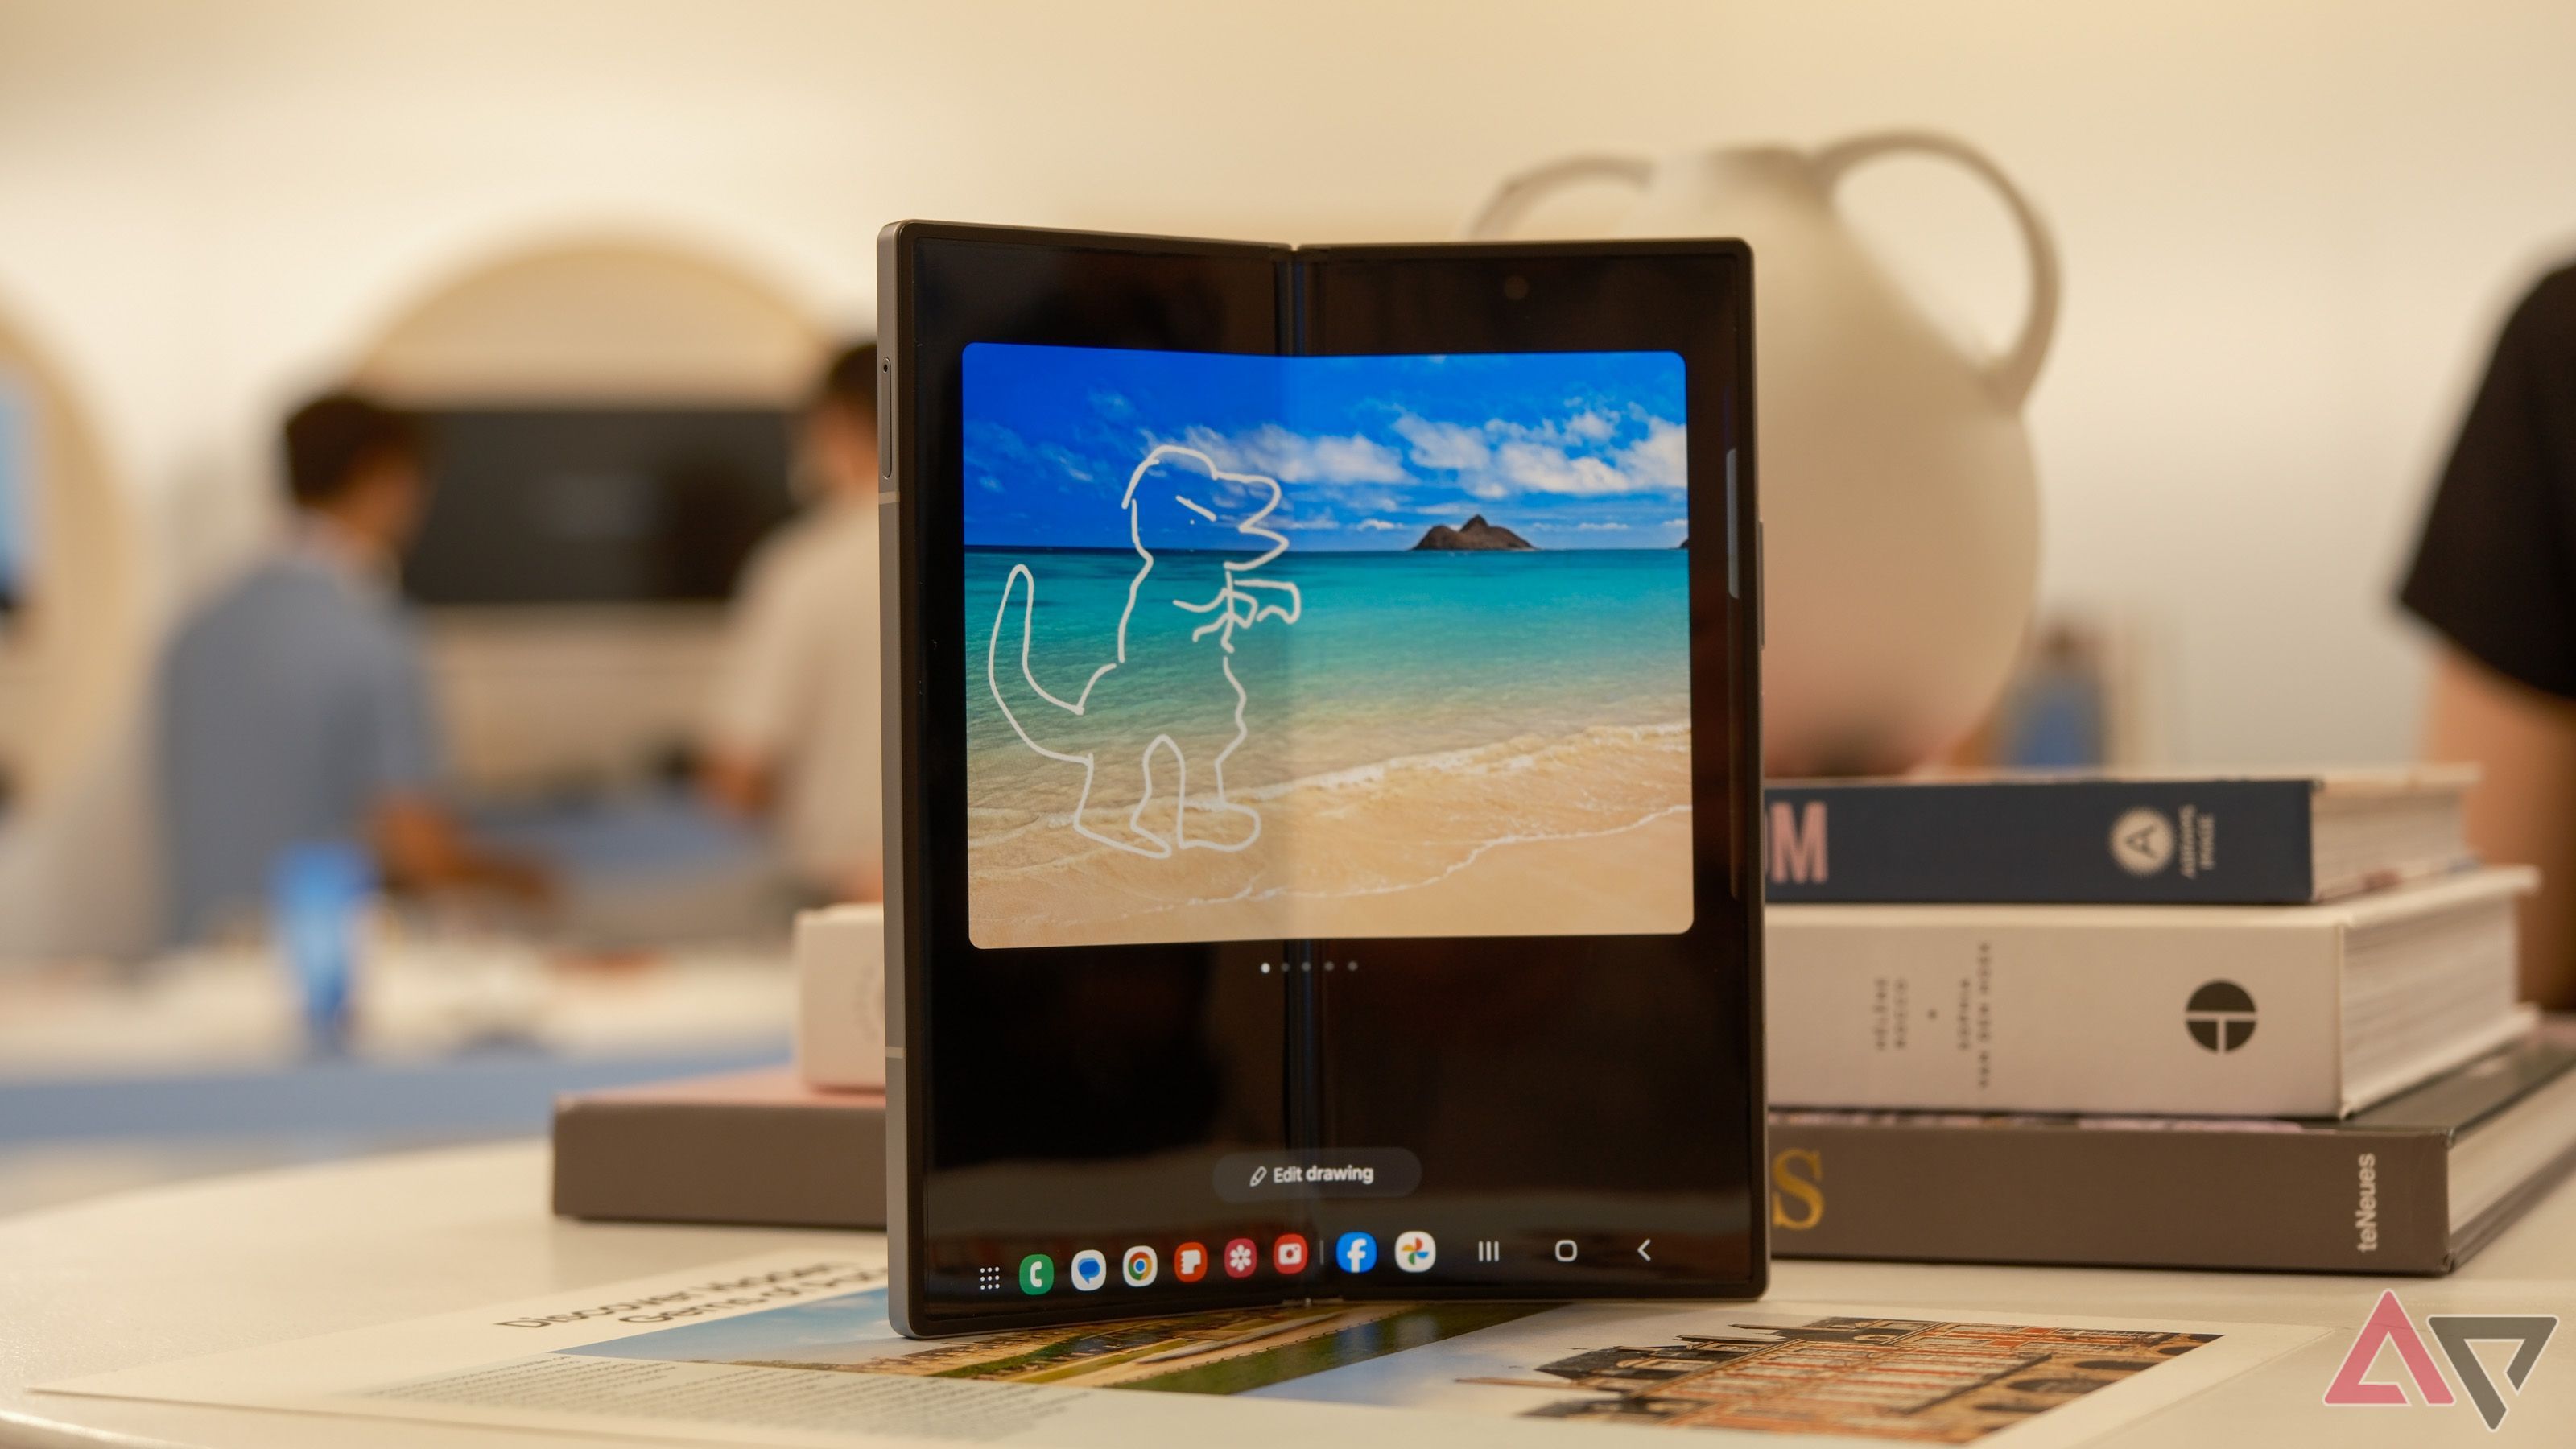
Samsung’s flagships still have room to grow. For example, the crease on Samsung’s foldables remains a visual. They are also thicker compared to the competition. The leaked renders and rumors show that the Galaxy S25 series will continue the design language of its predecessors.
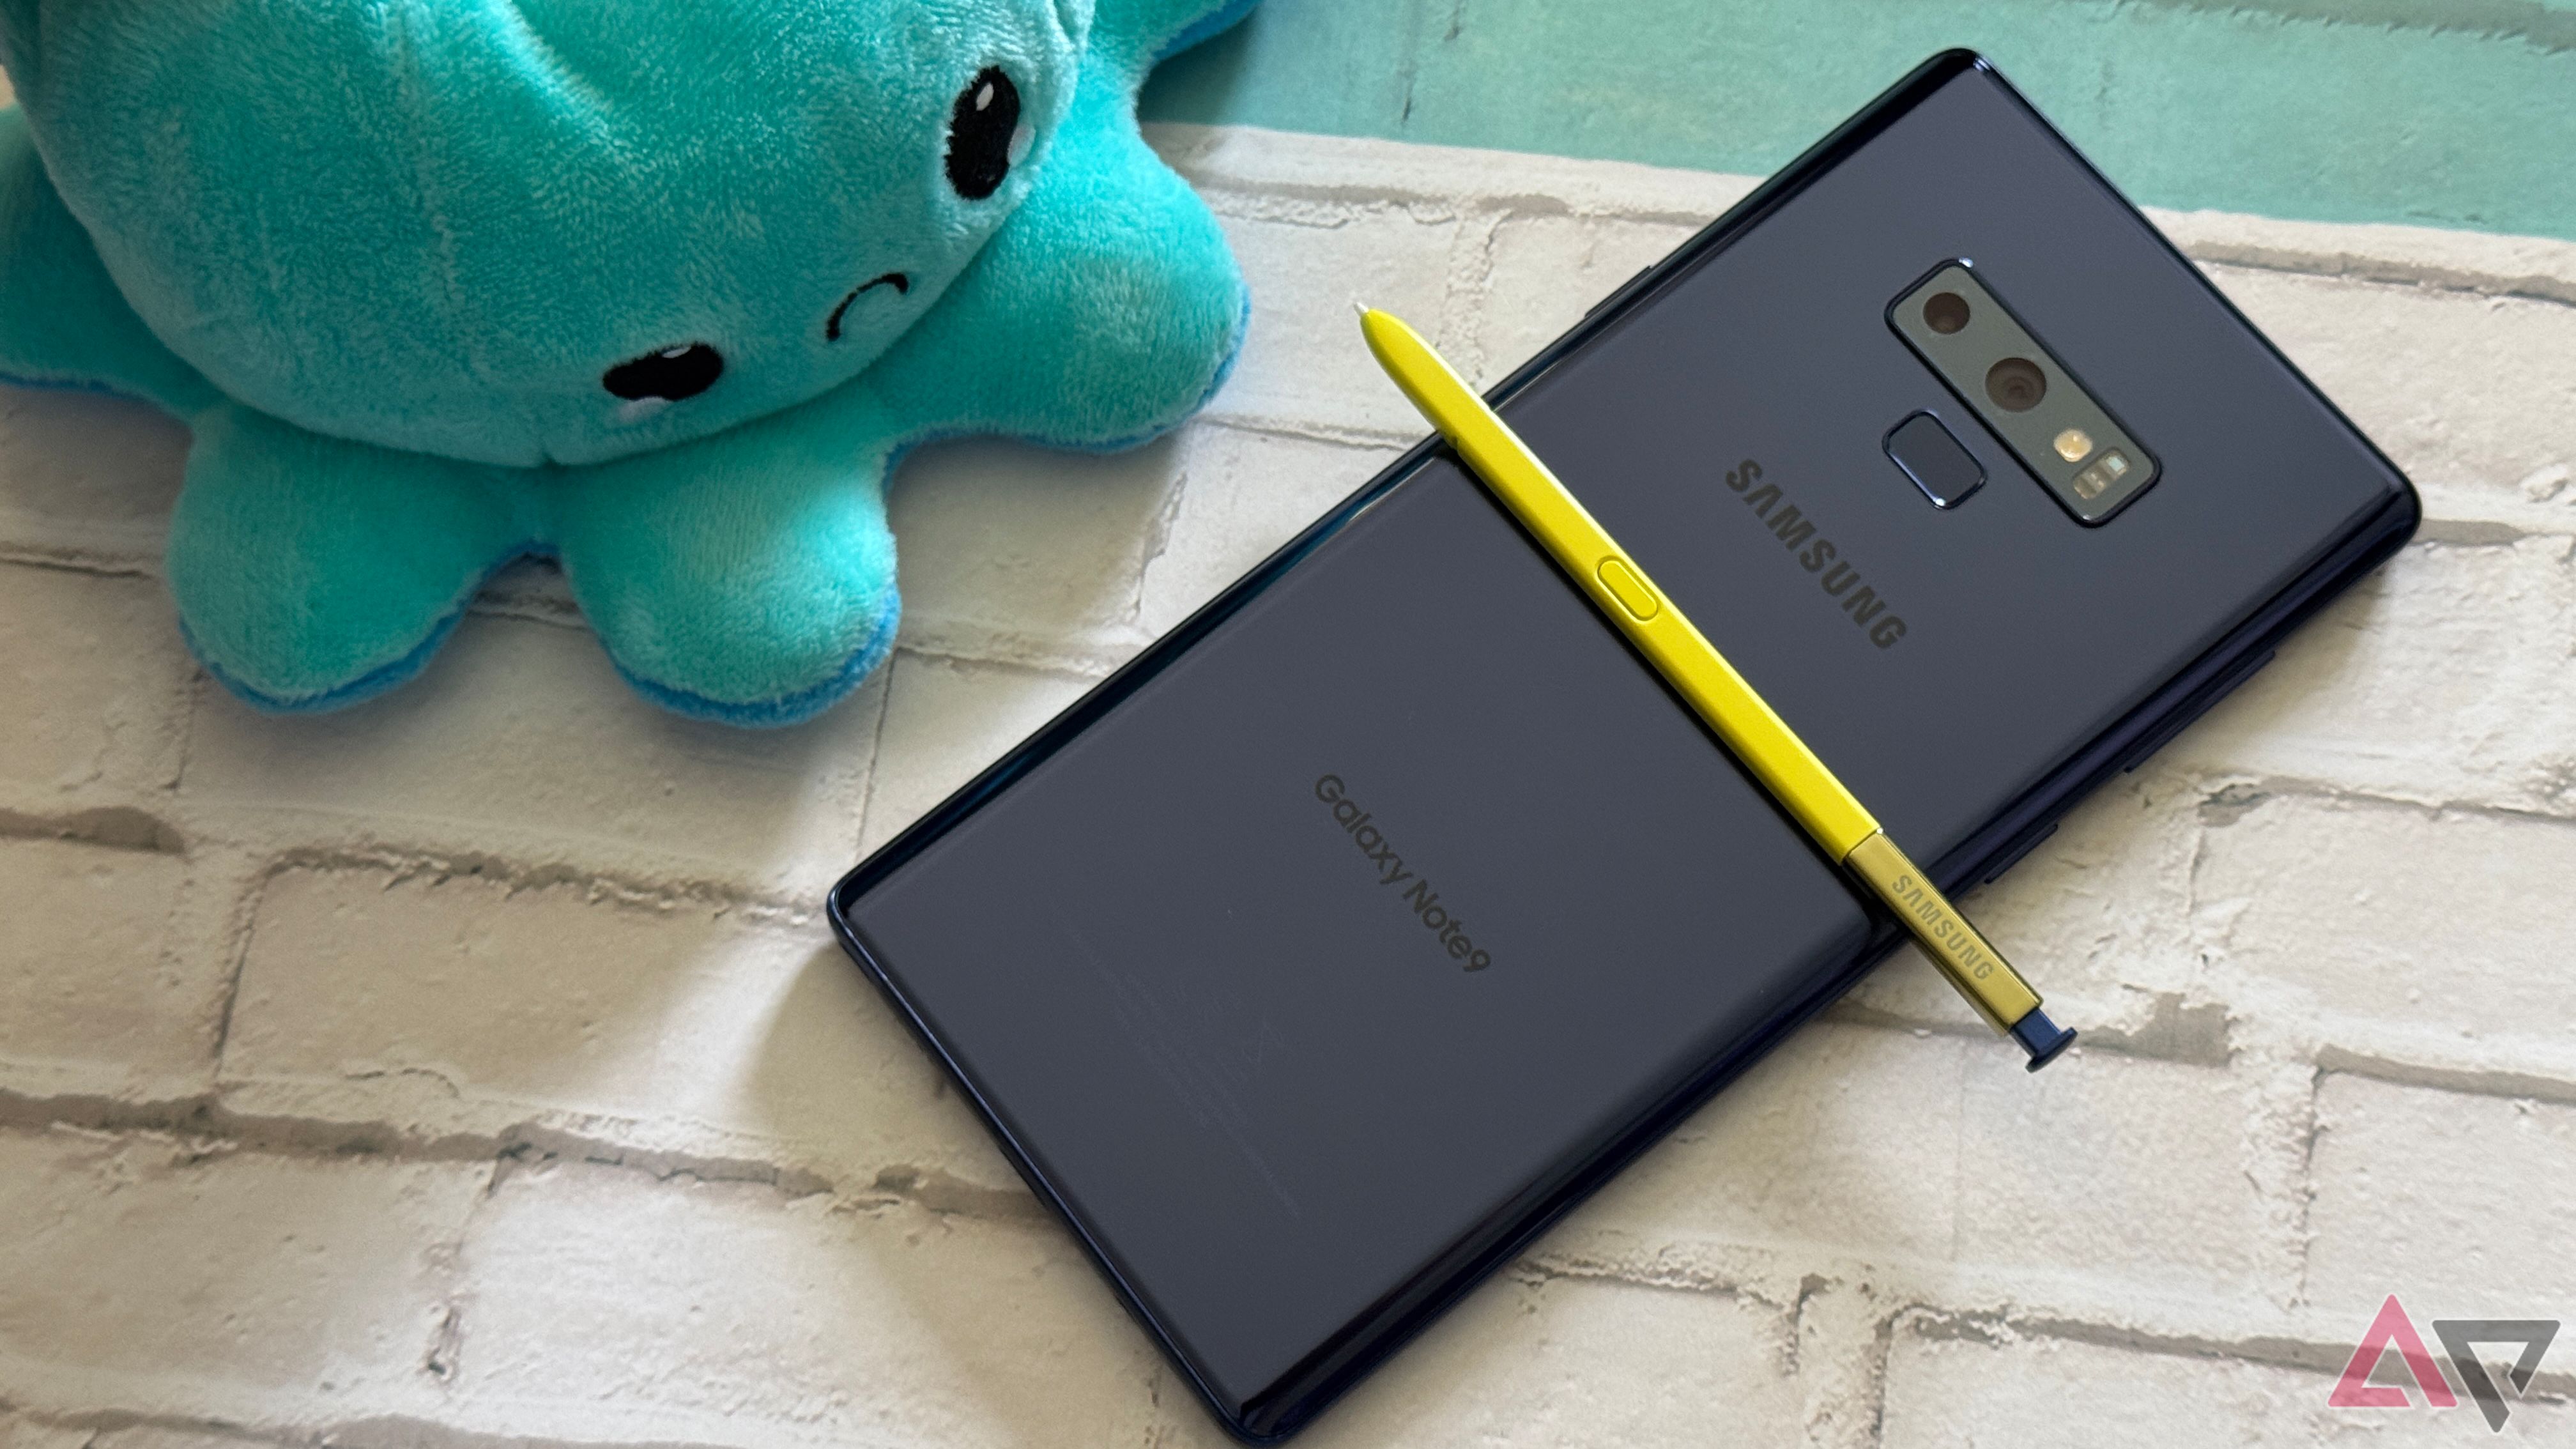
Although it looks refined, the wow factor is missing, which once made Samsung flagships stand out (remember the Galaxy Note 9?). With this trend and Samsung’s attitude, I don’t have high hopes for the 2025 foldables. Unless they lose significant sales to rivals, I don’t see Samsung going beyond interactive upgrades on the Fold and Flip series.
Is Samsung complacent?
While it seems strange for a Samsung fan to want the company to lose ground, my desire comes from loyalty. I want them to innovate like in the days of the Galaxy Note 4. A stronger and more innovative Samsung means exciting new products and a more dynamic Android ecosystem. In the meantime, Samsung plans to release the next generation of One UI software skin in 2025. We went hands-on with One UI 7 to check what Samsung has in store for us.


